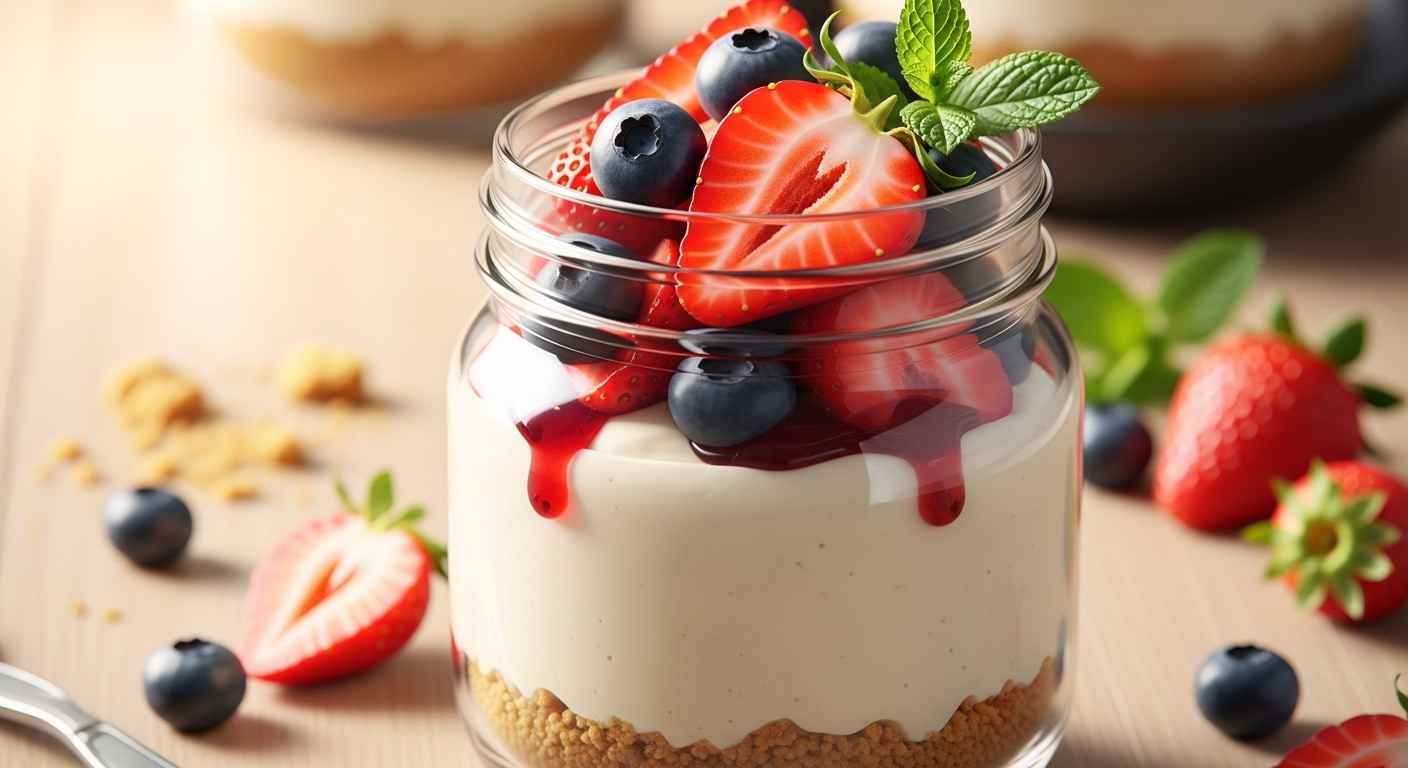
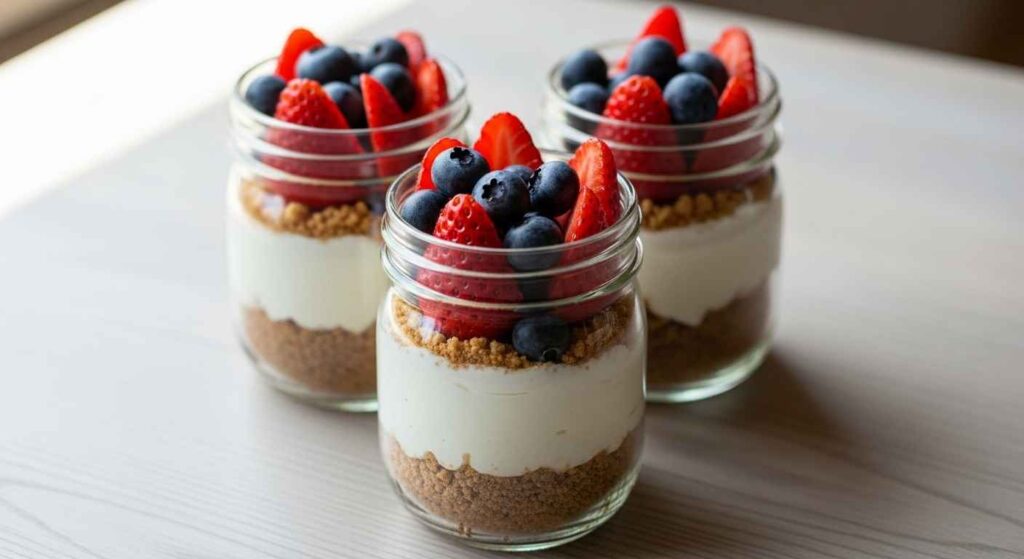
No-bake cheesecake in a jar offers a simple way to enjoy a classic dessert. You skip the oven and get creamy results fast. This recipe serves six people. Each portion fits in a small mason jar for easy transport. Prepare it in under 30 minutes. Chill time adds firmness.
This method suits picnics or small gatherings. You control toppings for personal taste. Use fresh fruit or sauces. The base stays the same. Follow steps below for success.
Ingredients You Need
Gather these items first. The list makes six 4-ounce jars.
For the Crust
- 1 cup graham cracker crumbs
- 3 tablespoons melted butter
- 1 tablespoon sugar
For the Filling
- 8 ounces cream cheese, softened
- 1/2 cup heavy whipping cream
- 1/4 cup sugar
- 1 teaspoon vanilla extract
- 1 tablespoon lemon juice
- 2 tablespoons sour cream
For Toppings
- Fresh berries like strawberries or blueberries
- Fruit sauce or jam
Use full-fat cream cheese for smooth texture. Heavy cream whips best when cold.
Step-by-Step Instructions
Make the crust first. Then prepare the filling. Assemble last.
- Mix graham cracker crumbs, melted butter, and sugar in a bowl. Stir until it sticks together.
- Spoon 2 tablespoons of crust mix into each jar. Press down with a spoon. Set jars in the fridge for 10 minutes.
- Whip heavy cream in a bowl until stiff peaks form. This takes about 2 minutes with a mixer.
- Beat cream cheese, sugar, vanilla, lemon juice, and sour cream in another bowl. Mix until smooth.
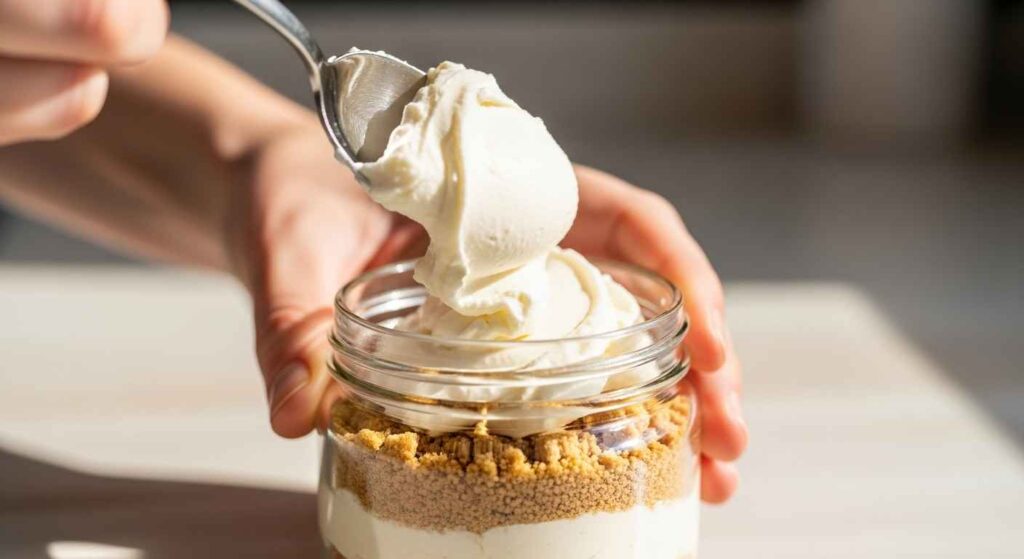
- Fold whipped cream into the cream cheese mix. Do this gently to keep it light.
- Spoon filling into jars over the crust. Fill to about 3/4 full. Smooth the top.
- Chill jars in the fridge for at least 2 hours. This sets the filling.
- Add toppings before you serve. Use berries or a spoon of jam.
The process takes little effort. You get firm cheesecakes without baking.
Tips for Best Results
These pointers help avoid common issues.
- Chill the bowl and beaters before whipping cream. It whips faster.
- Soften cream cheese at room temperature. This prevents lumps.
- Press crust firmly. It holds together better.
- Store jars with lids in the fridge. They last up to 3 days.
- Freeze without toppings for up to 2 months. Thaw in the fridge overnight.
- Use wide-mouth jars. They make layering simple.
If the filling seems soft, chill longer. Up to 4 hours works well.
Flavor Variations to Try
Change the base recipe for new tastes.
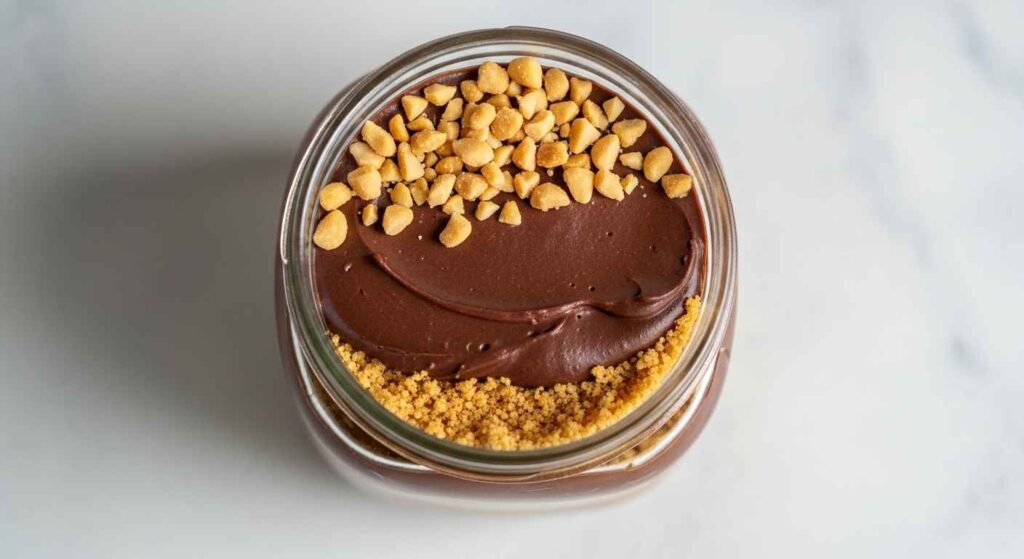
- Add 1/4 cup cocoa powder to filling for chocolate version.
- Mix in 2 tablespoons raspberry jam for berry flavor.
- Use lime juice instead of lemon for a key lime twist.
- Stir in 1/4 cup peanut butter for nutty taste.
Top with matching items. Chocolate goes with nuts. Berry fits fresh fruit.
Common Questions Answered
Here are answers to frequent concerns.
How long do these last in the fridge?
Up to 3 days with lids on. Add toppings fresh each time.
Can I use low-fat cream cheese?
Yes, but full-fat gives better creaminess. Low-fat may taste less rich.
What if my filling does not set?
Chill longer. Make sure you whipped the cream to stiff peaks.
Can I freeze them?
Yes, without toppings. Wrap jars well. Thaw slowly in the fridge.
Do I need mason jars?
No. Use any small glass cups. Adjust amounts if sizes differ.
Can I make this ahead for a party?
Yes. Prepare up to 2 days before. Add toppings right before serving.
For more quick meal ideas, check our easy chicken alfredo recipe. It pairs well with dessert.
This recipe provides a reliable way to make no-bake cheesecake. It meets needs for fast, portable sweets. Share your results in comments below.